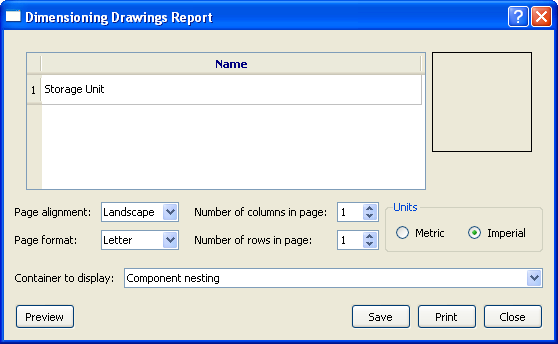
The Dimensioning Drawings Report Dialog
The Dimensioning Drawings Report dialog allows you to set up and print a report showing dimension lines.

The Dimensioning Drawings Report dialog is made up of the following areas:
- The selection area. Select the views to appear in the report. You must select at least one view. The available views depend on the project or assembly that you want to display and the dimensioning line drawings you have created for that project or assembly.
- The page layout area. Select the alignment of the report on the page (portrait or landscape) and the paper size.
- The columns and rows area. Select the number of columns and rows on each page of the report.
- The Units area.
- The Container to Display list. Select the project or assembly to appear in the report.
Once you have set up the report, you can preview it, save it to your computer, or print it out.

