Making a drawer as a basic cabinet design software process
Normally you wouldn’t start building drawers before you did the carcass – but it’s a good way to show how to put five boards together to make a box. Again – this is basic. A bit later I will go back to this drawer and put in some hardware, slots for the bottom and side joinery.
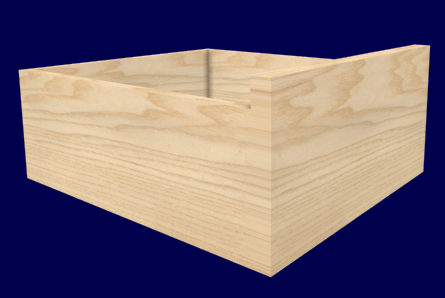 I’ll admit it doesn’t look like much yet – but that’ll get fixed later. For now – concepts.
Making the draswer required inserting a new board, sizing it, cloning it, and locating the clone. I did that twice actually – front and back, left and right sides. Then I added the bottom.
A few things to remember. Adding a board must be done – in this case – at the drawer level.
There are four steps in adding a board.
- Pick material
- Select orientation – which means what does the board look like when viewed from the front.
- Vertical – top to bottom, looking at board edge grain
- Horizontal – side to side looking at board edge grain
- Flat – top to bottom, side to side, looking at board surface grain
- Enter size of board (remember you can’t enter board thickness – that’s determined by the material you selected)
- Name board
Next step size (or re-size) and locate the board. THIS IS THE BASIC THING IS SKETCHLIST 3D. Everything has a point of origin – where left = bottom = front = zero. This is the distance from the object to the point of origin of the assembly. If you change left from 0 to 10, you’ve moved the board to the right by 20 units so the new left value of the board is now 20. If the width of the board is 10 – then the right edge of that board is no left = 20 plus width = 10 or 30 units from the left of the assembly. But you don’t really do the math – SketchList does it automatically.
There are two ways to enter and change size and location information about objects. An object is anything in a project.
The first is with the form. Depending on which level you are working – it may be an assembly form, board form, drawer form, door form, or hardware form.
The second way to enter is with one of the spreadsheets. The assembly spreadsheet contains all objects in a given assembly. The general spreadsheet shows all assemblies and all objects in a project. The assembly can be faster in terms of processing. The general shows size and location of all objects in the project – making it easy to compare and related objects n different assemblies to one another.
You can learn much about SketchList 3D from these three videos.
David Rozewski
My woodworking love started in 6th grade in school shop class. I have a BS in Industrial Technology and an MBA. At my first job, I computerized a production accounting system – the results were positive, and I loved the challenges. I left the corporate world to begin woodworking full time and one of my first decisions was to use CAD for my designs. I found that CAD did not meet all my needs. I wrote a specification of what I wanted and turned it into a prototype. SketchList 3D incorporated in 2007. We completed programming and launched. Today thousands of woodworkers use SketchList 3D.


